Regional Sales Manager Request
Please fill out the form below to contact Beckett directly and we’ll get back to you within 24 hours.
This quick tutorial will guide you through the steps on installing the Rocket Wireless Fuel Level Monitor.
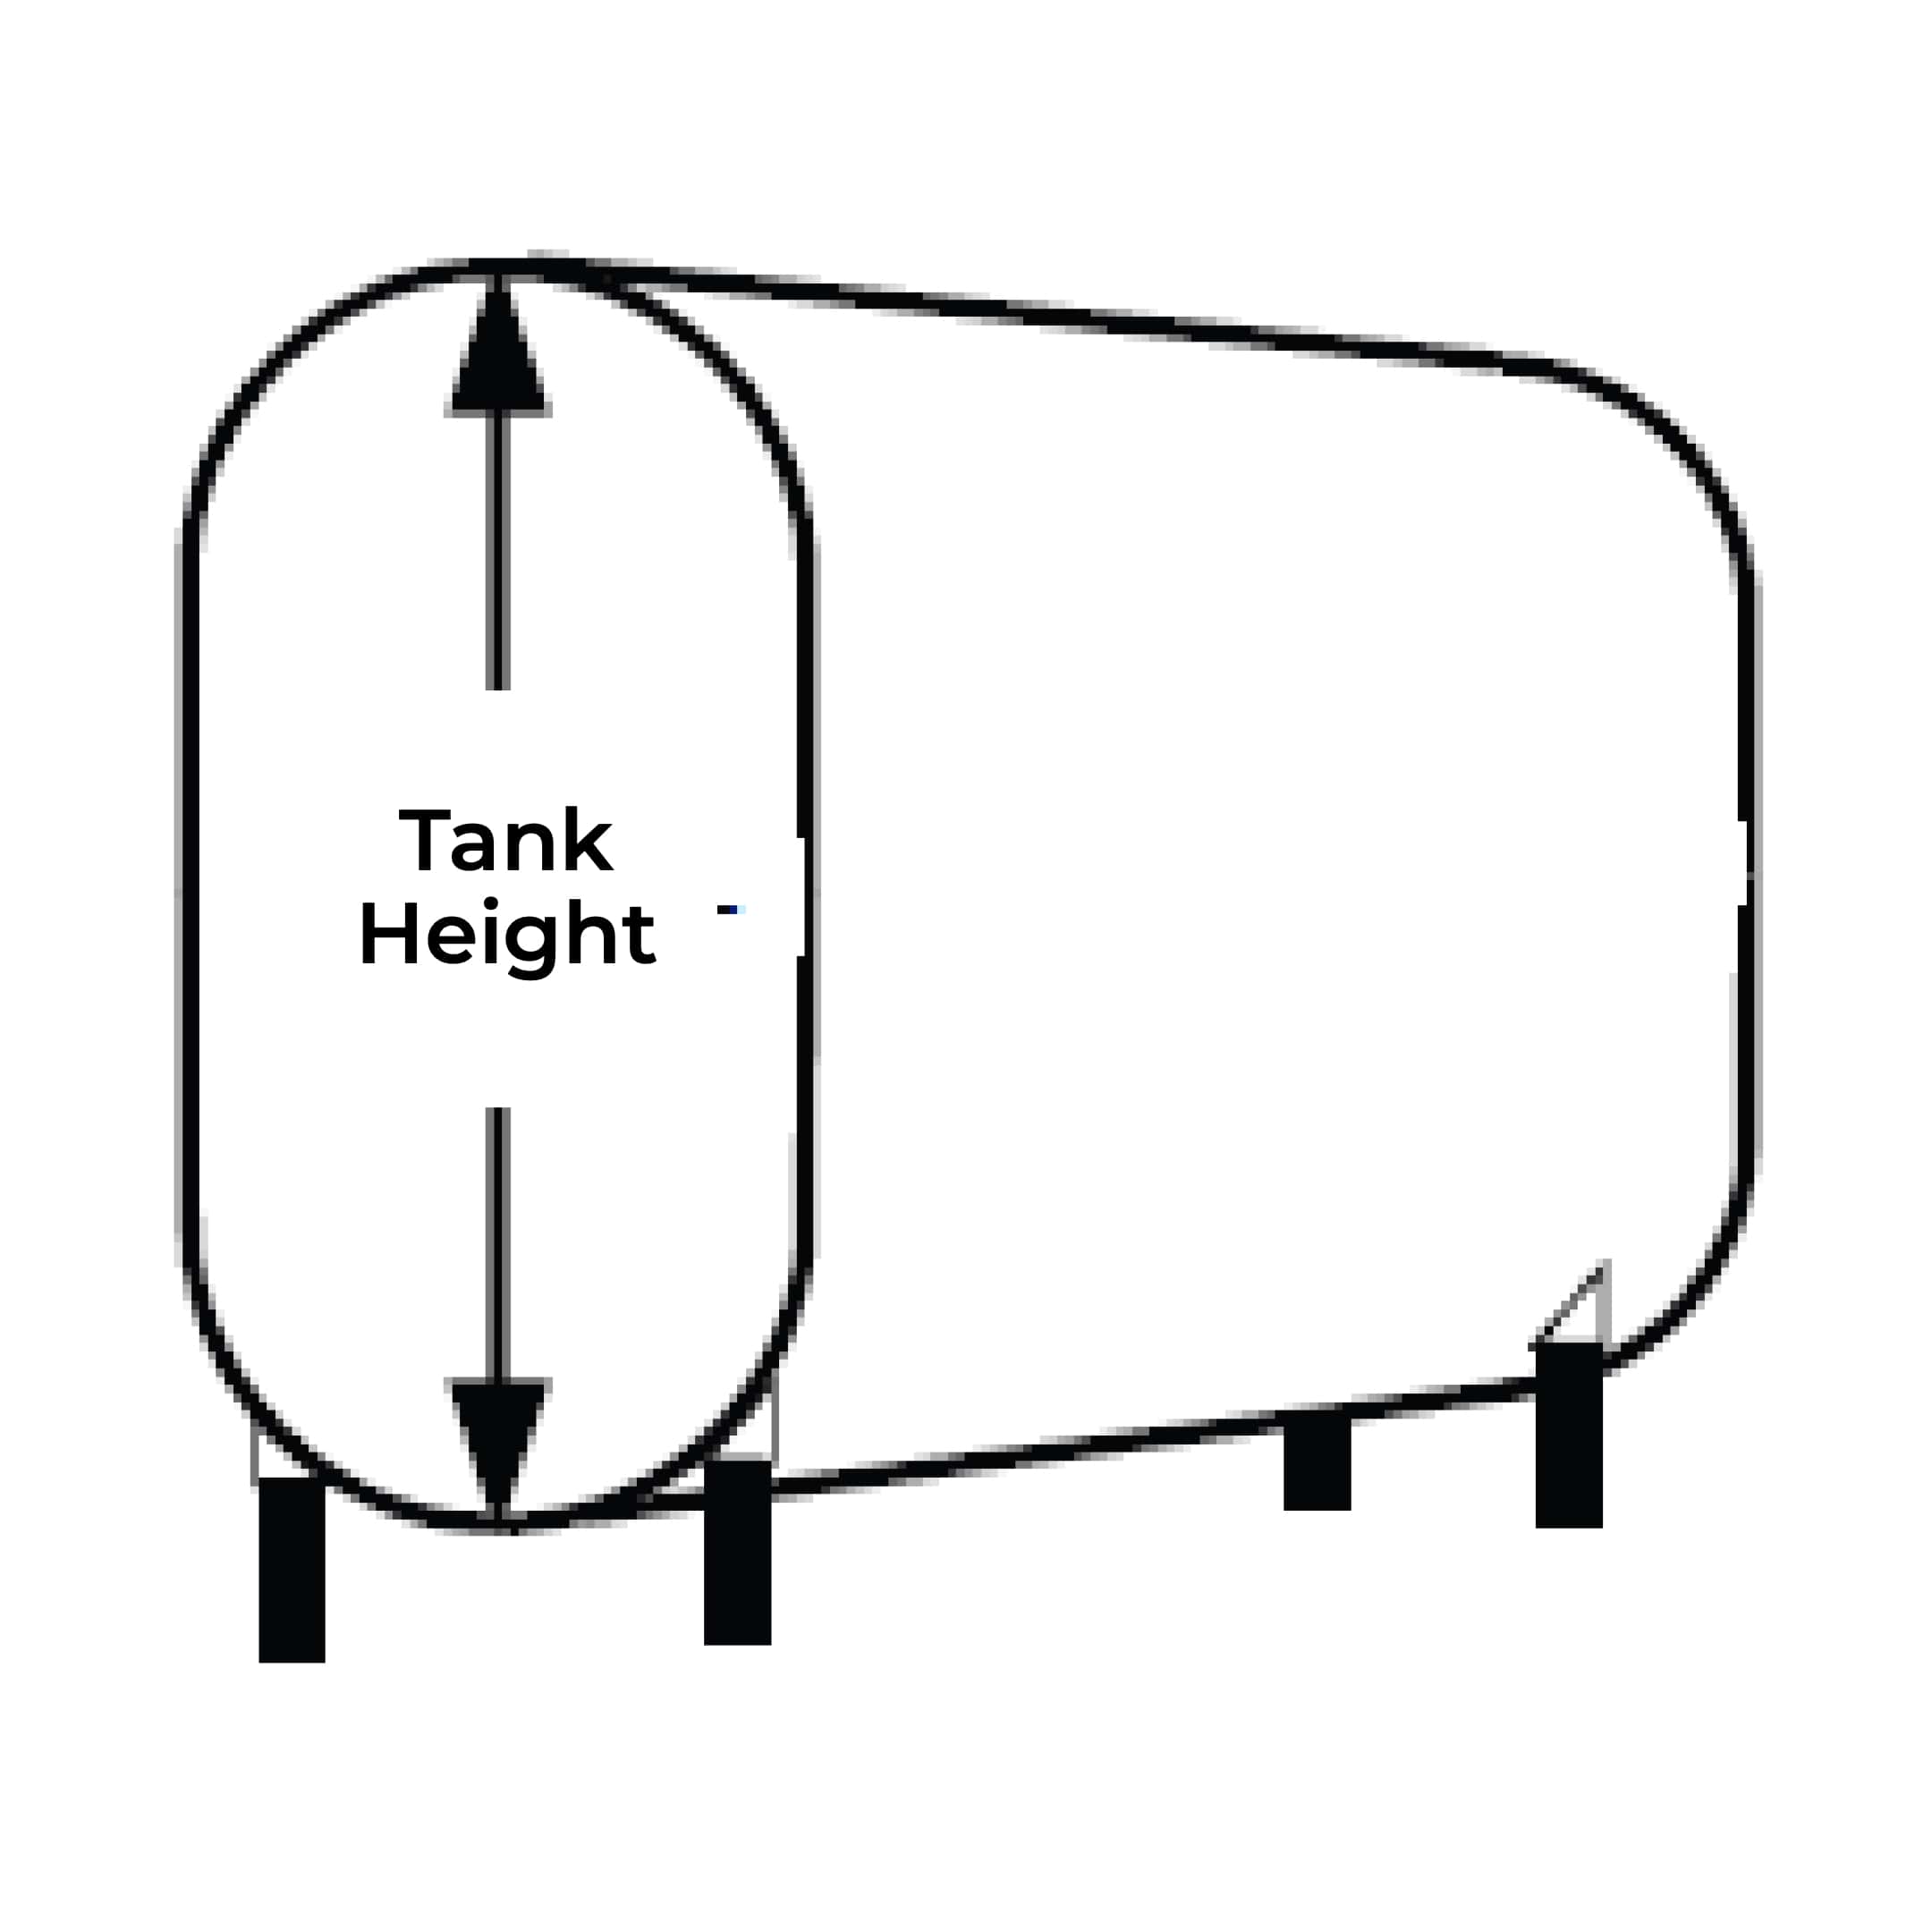
Begin by determining the total tank height either by making a direct measurement or using the DIP Switch Settings chart at the end of this post.
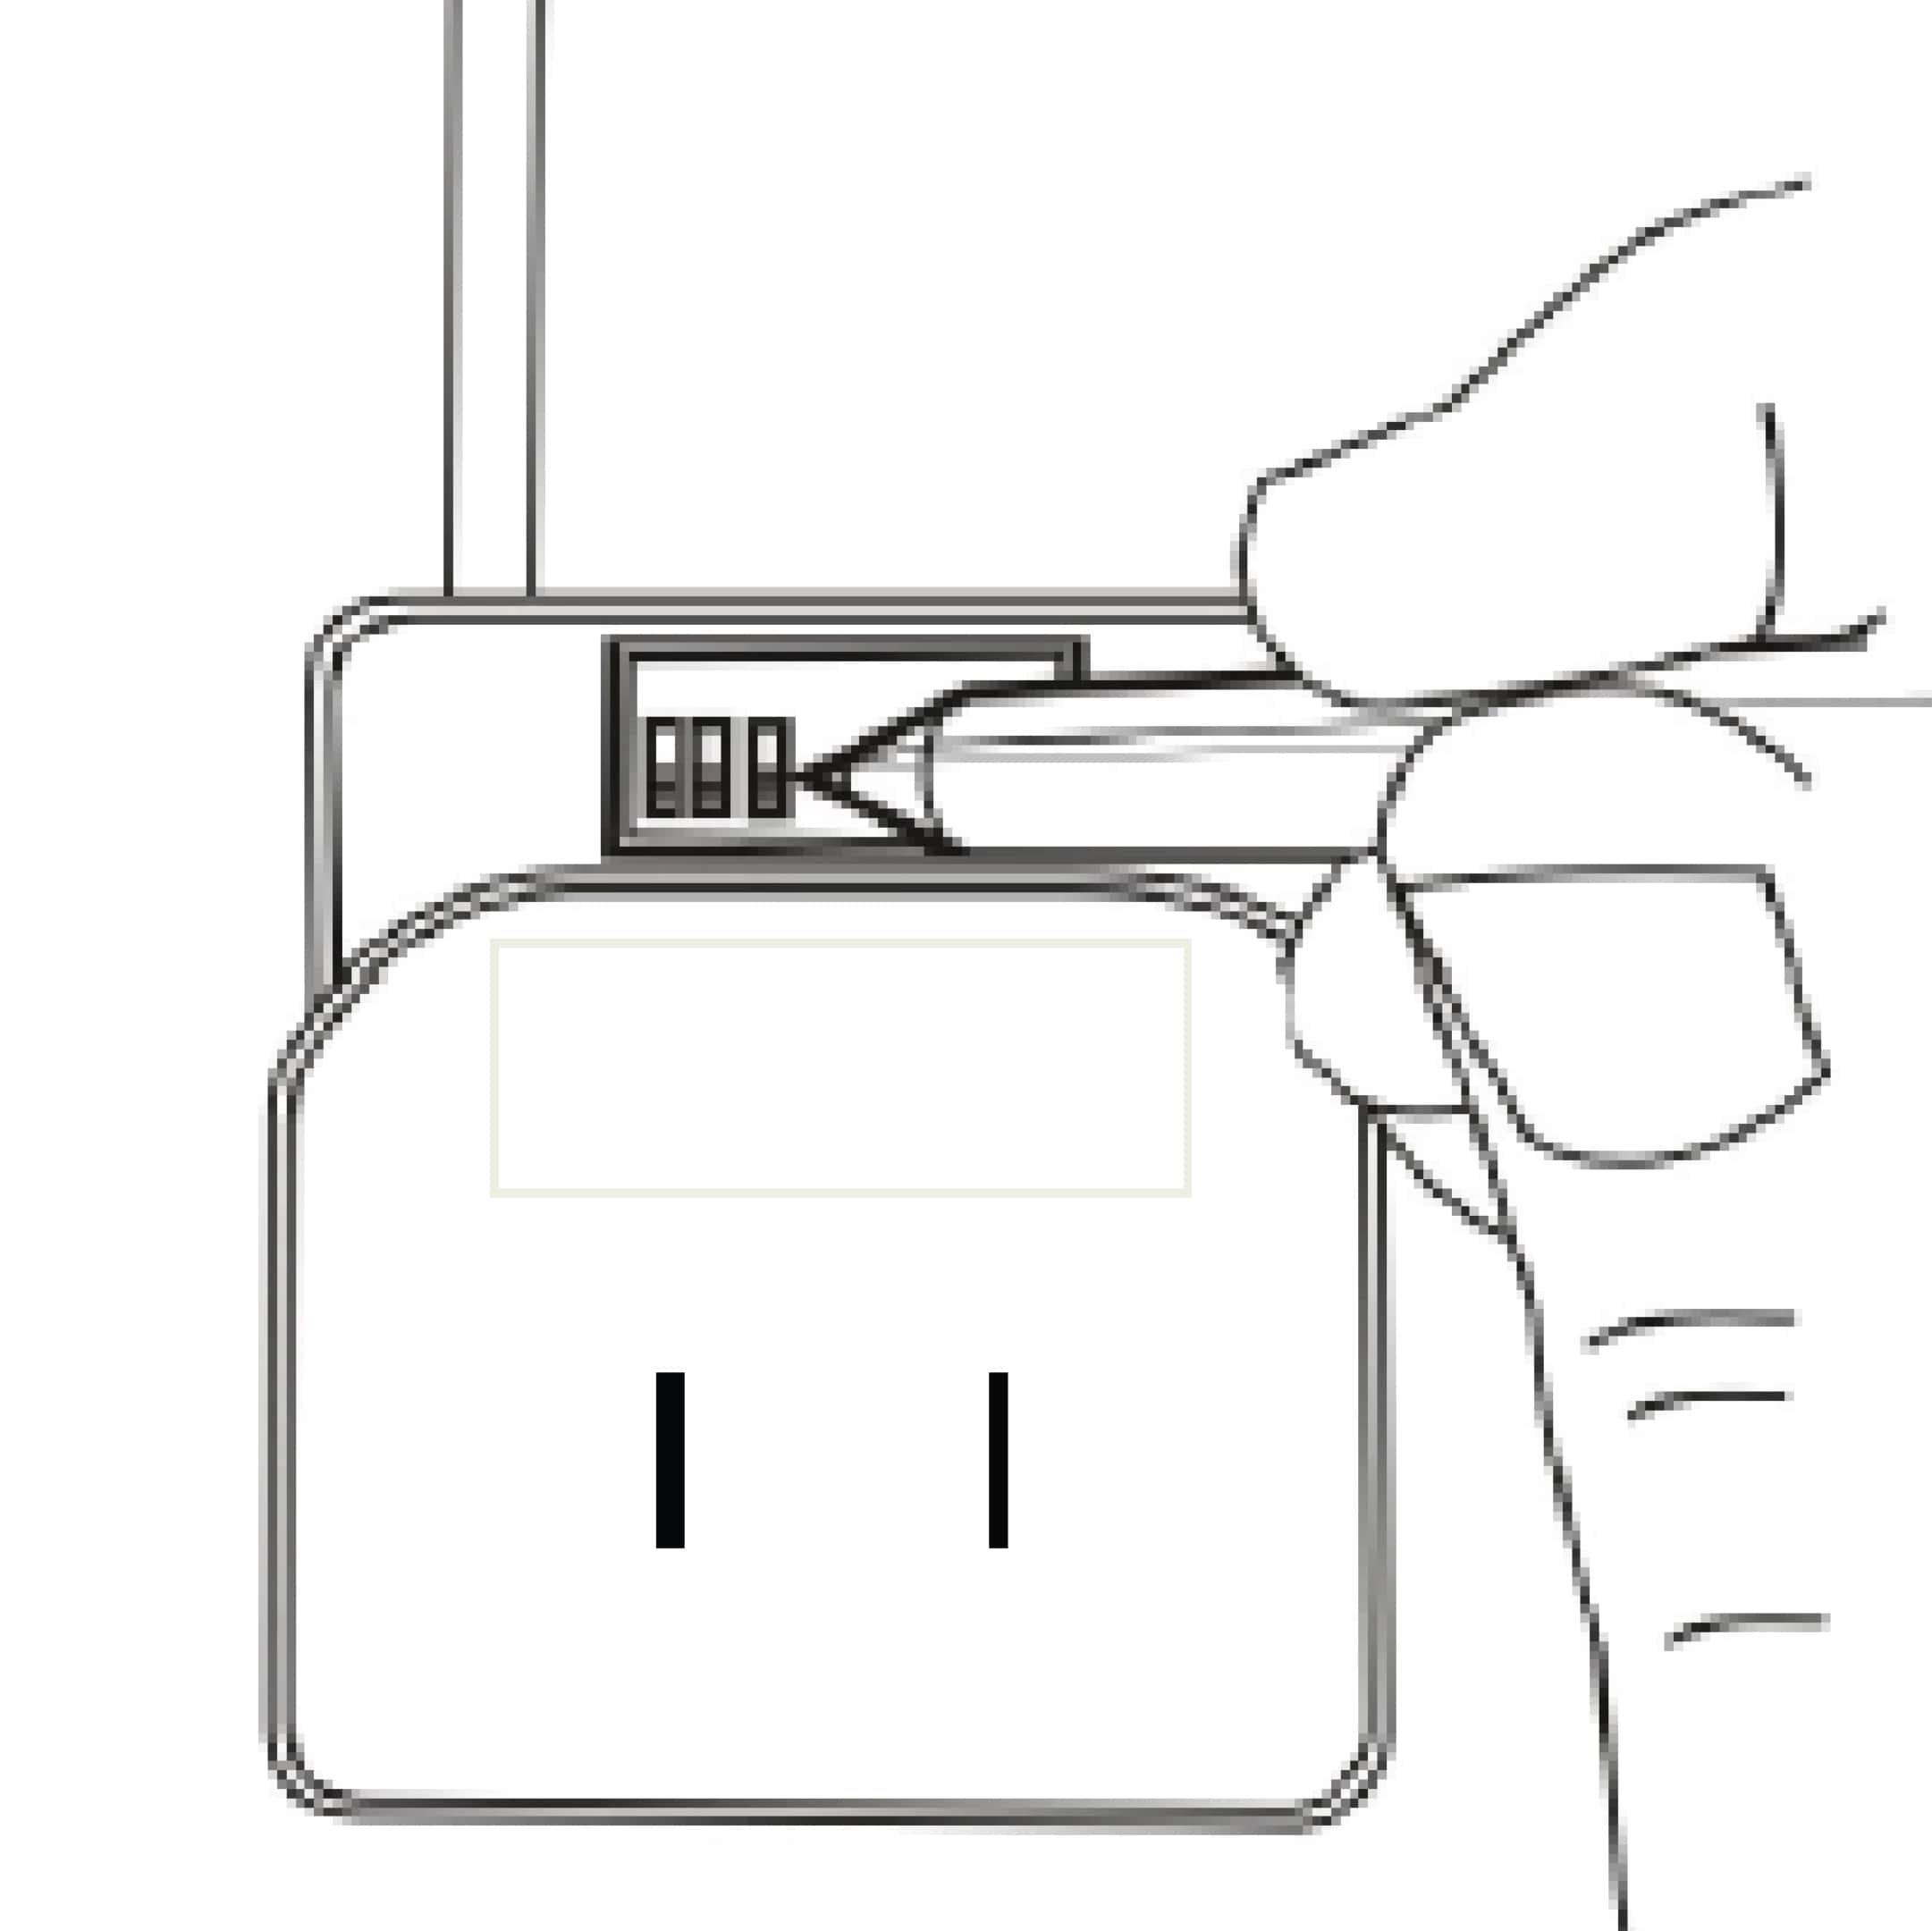
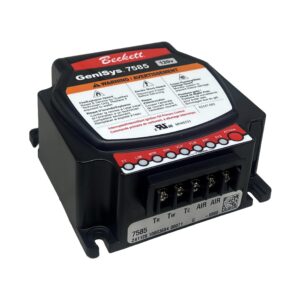
Once the tank height is determined, use the DIP Switch Settings chart at the end of this post to locate the correct DIP switch setting for your tank. The row of DIP switches is located on the back of the Receiver Display. Toggling an individual switch up towards the antenna will put it into the “ON” position.
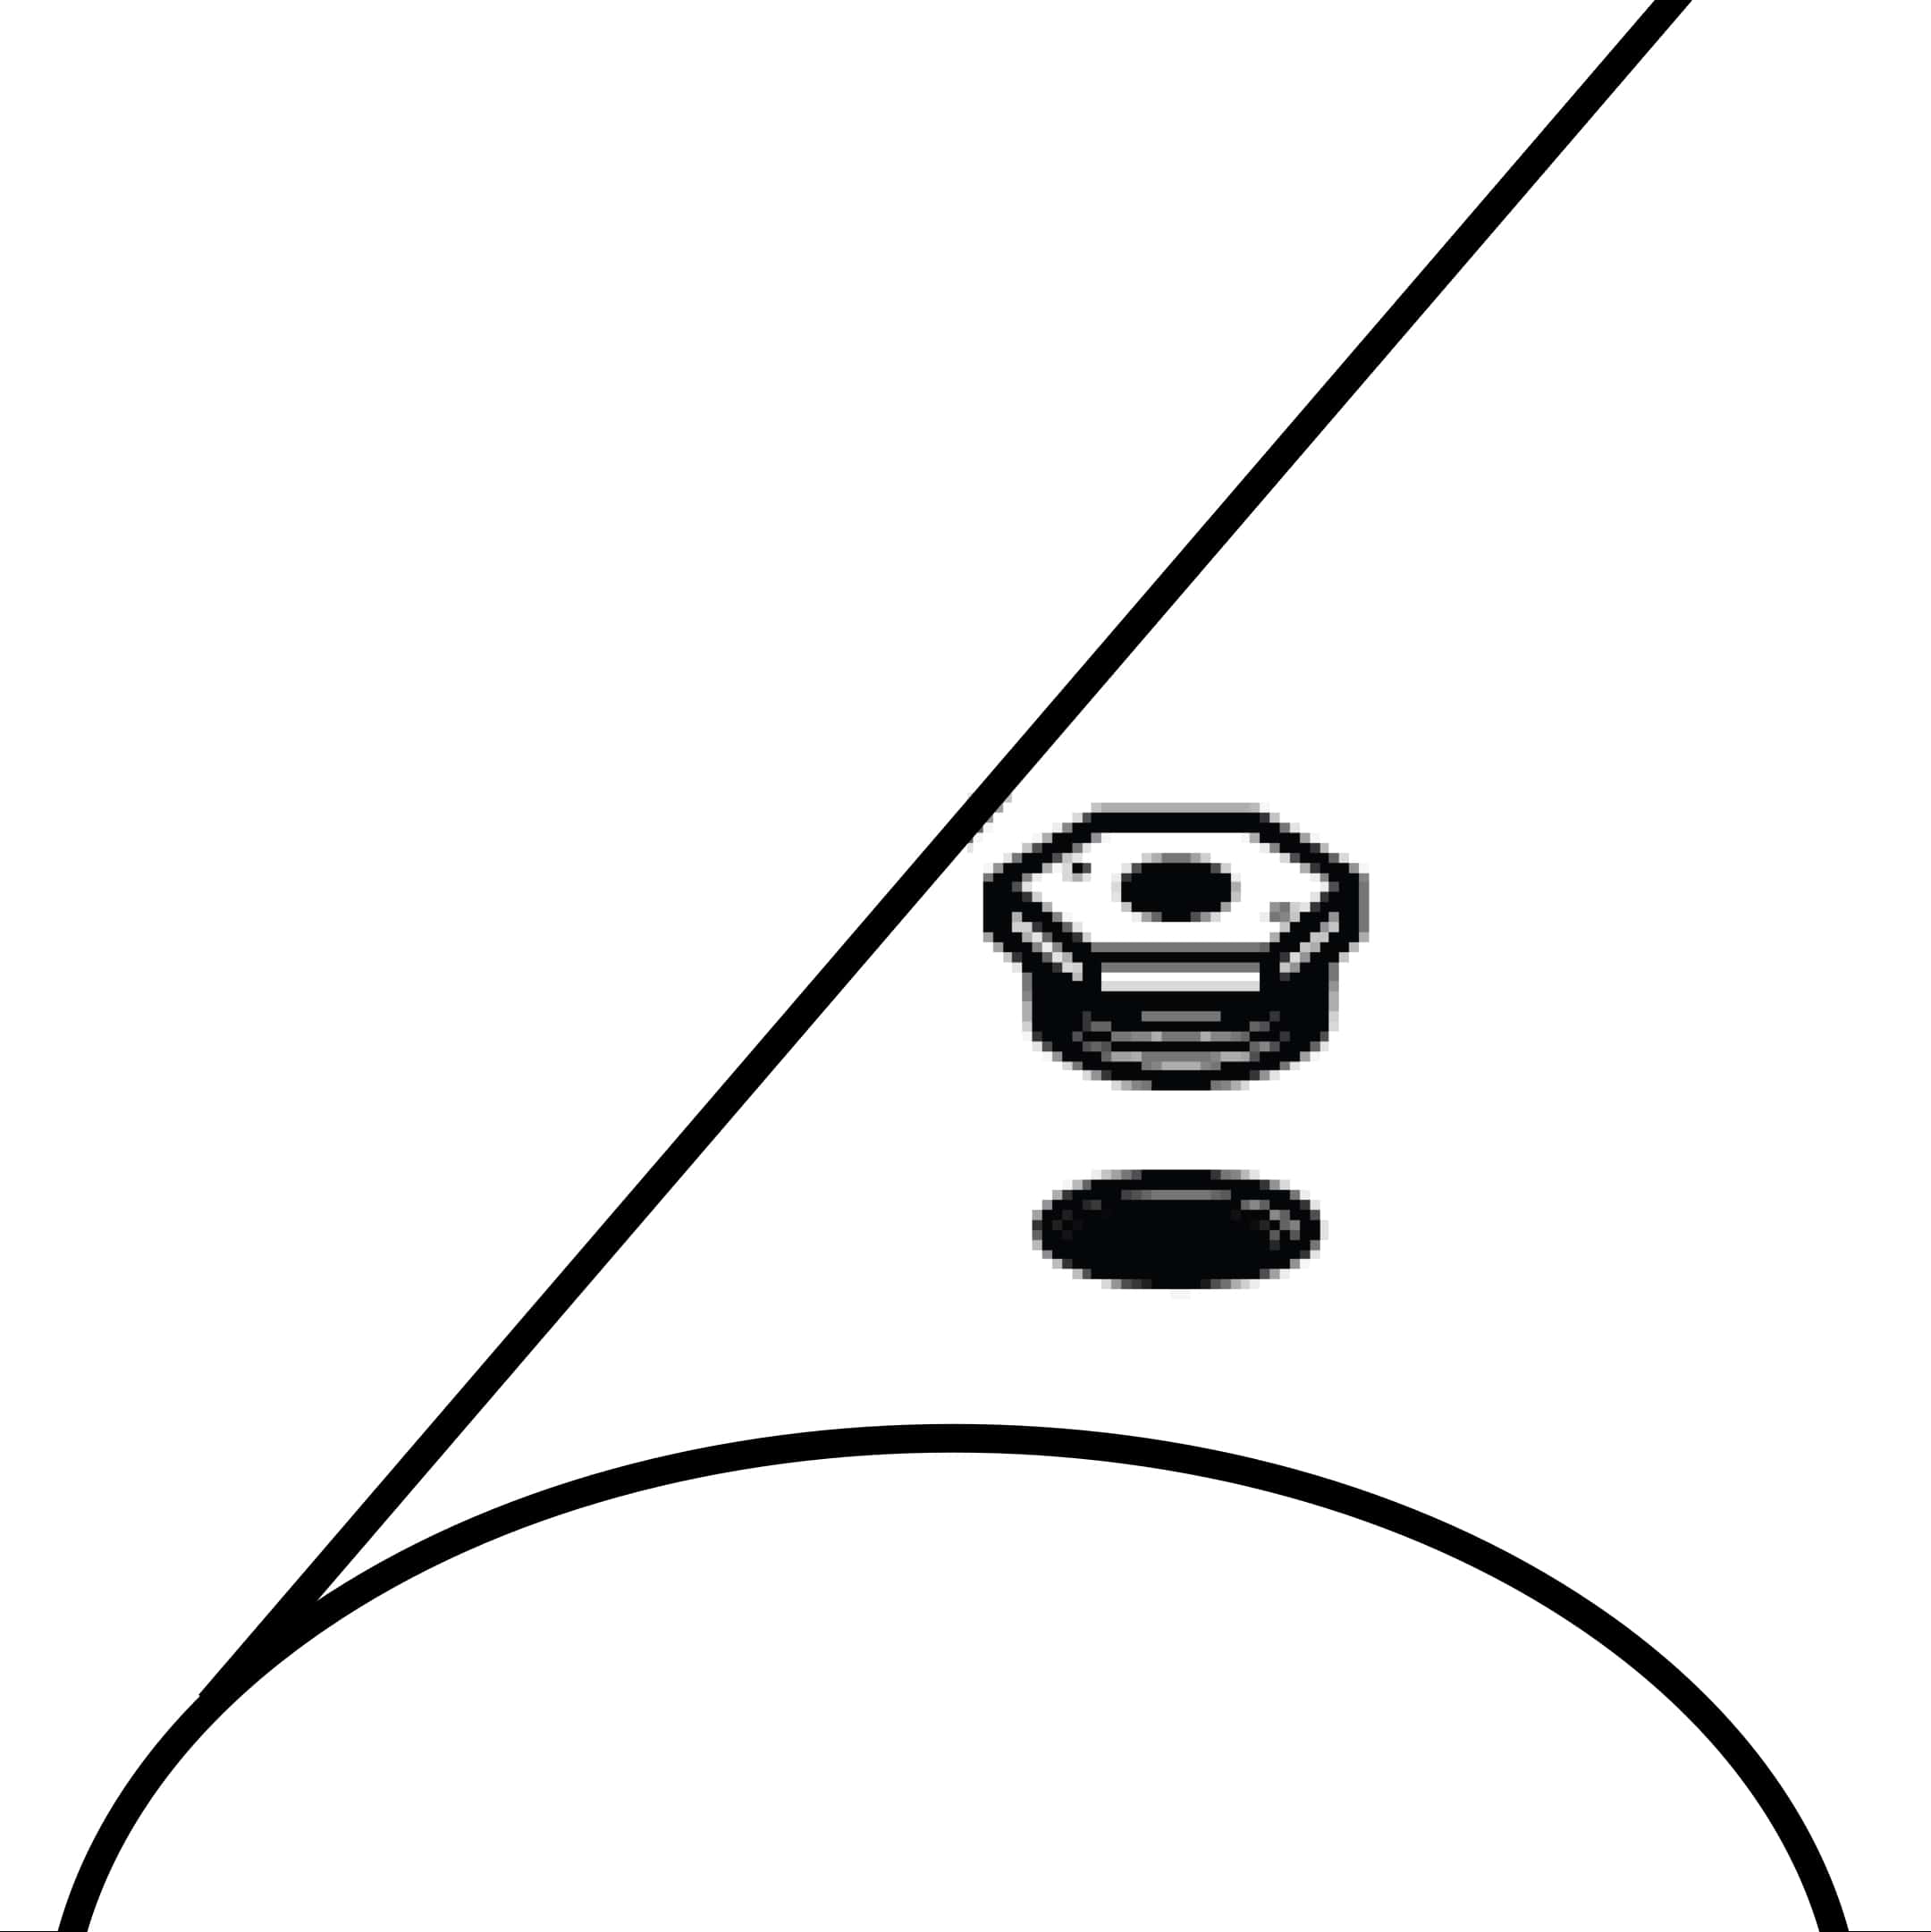
Install the supplied metal adapter into an unused 2″ NPT opening in the top of the tank. Apply pipe sealant on the Adapter threads and tighten appropriately. Do not install the transmitter at this time.
On the Receiver and Transmitter there are black dots located on the side of each device. To synchronize, plug the Receiver Display into a convenient 120 VAC electrical outlet.
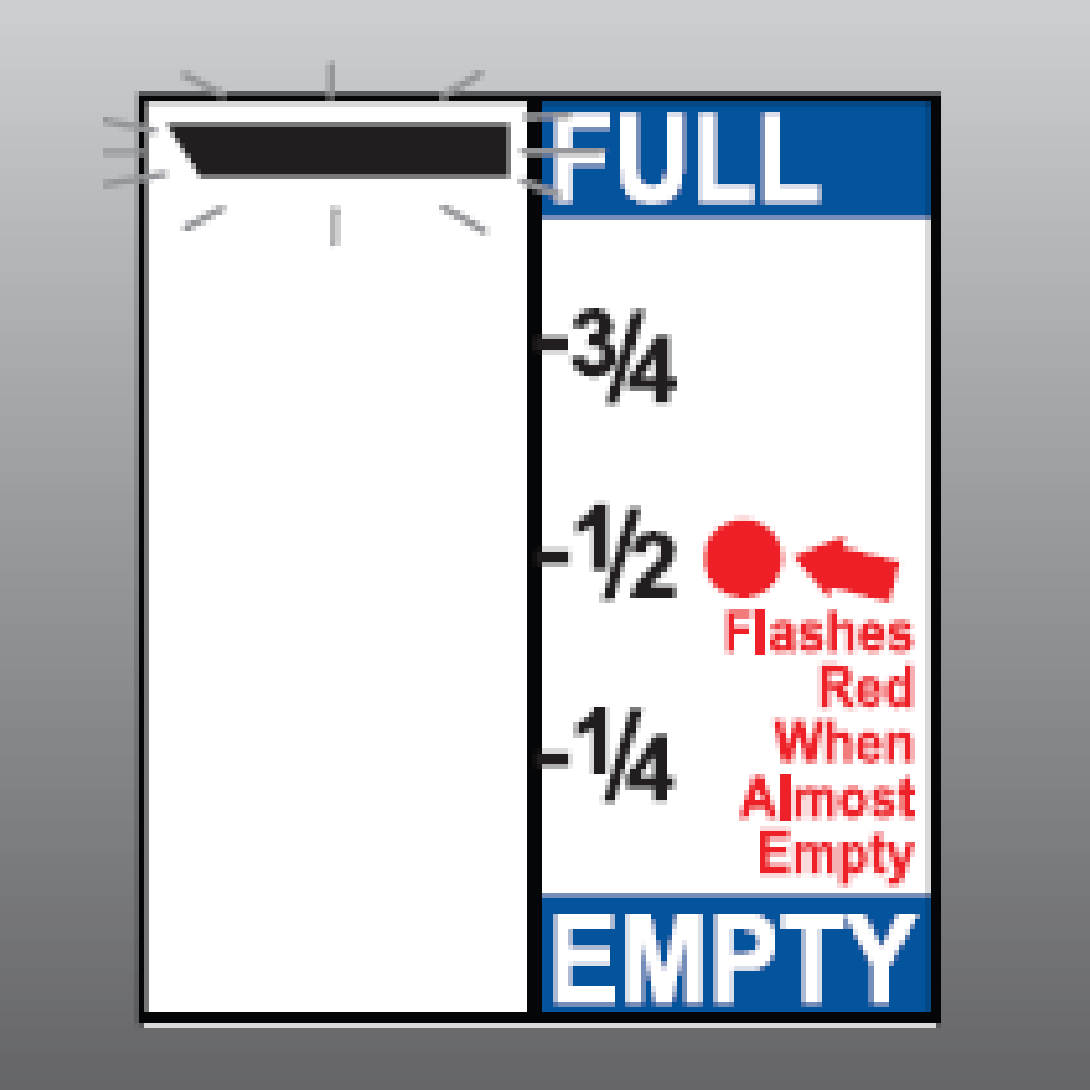
The LCD display on the Receiver will show a flashing top bar (for about 2 minutes)
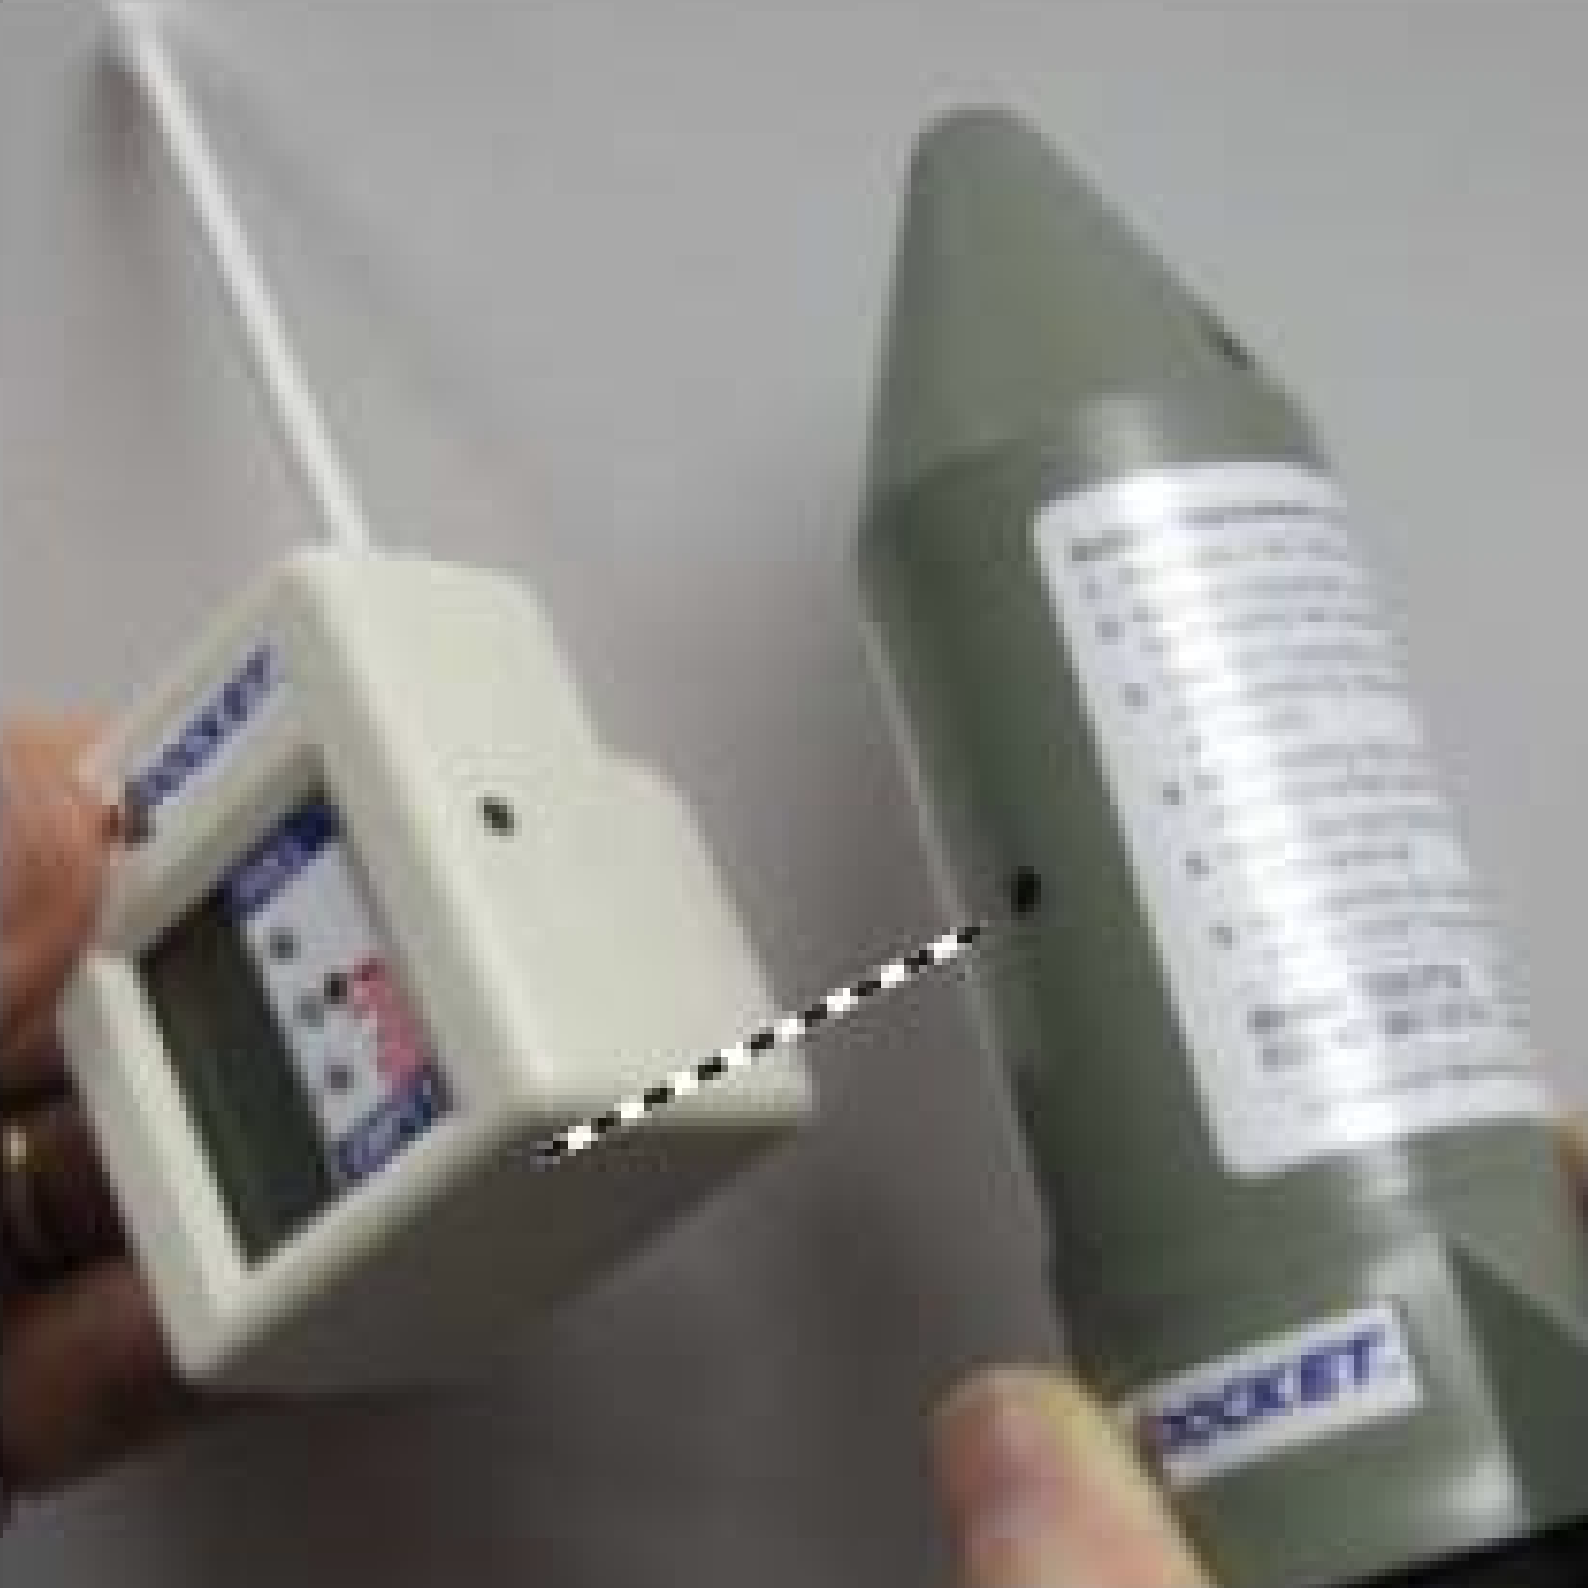
During this 2 minute “Learn” period, slide the Transmitter, starting at the bottom of the right side of the Receiver until the black dots touch each other or until the Receiver Display bars begin to increase in size
The Transmitter stays in “Fast” transmit mode for 10 minutes following synchronization. Moving the Transmitter up and down above a solid surface should decrease or increase the number of bars respectively on the Receiver Display. If you wish to deactivate “Fast” transmit mode, again slide the Transmitter dot towards or past the Receiver dot.
Now fasten the Transmitter to the Adapter using the gasket and screws provided. Do not over tighten.
The Rocket 17000 system uses ultrasonic radio wave technology to measure the fuel level in the tank. It then uses wireless transmission to send the measured fuel level to the Receiver
| Measured Tank Height | Set Switches ON | Settings for Commonly Available Tanks | |
| English (Inches) | Metric (Meters) | ||
| 20 - 22 | 0.50 - 0.55 | 2 thru 8 OFF | |
| 22 - 24 | 0.55 - 0.60 | 7 | |
| 24 - 26 | 0.60 - 0.65 | 6, 8 | 23" High Oval Horizontal Steel Tanks (240 gal) |
| 26 - 28 | 0.65 - 0.70 | 6, 7, 8 | |
| 28 - 30 | 0.70 - 0.75 | 5, 7 | Standard 27" High Oval Horizontal Steel Tank (137 gal, 275 gal, 330 gal), Highland Horizontal Cylinder Tank (160 gal, 240 gal, 320 gal) |
| 30 - 31 | 0.75 - 0.80 | 5, 6 | |
| 31 - 33 | 0.80 - 0.85 | 5, 6, 7, 8 | |
| 33 - 35 | 0.85 - 0.90 | 4, 8 | |
| 35 - 37 | 0.90 - 0.95 | 4, 6 | |
| 37 - 39 | 0.95 - 1.00 | 4, 6, 7 | Highland UL-142 38" Diameter (185 - 300 gal) |
| 39 - 41 | 1.00 - 1.05 | 4, 5, 8 | |
| 41 - 43 | 1.05 - 1.10 | 4, 5, 7, 8 | |
| 43 - 45 | 1.10 - 1.15 (FACTORY SETTING) | 4, 5, 6, 7 | Standard Oval Vertical Steel Tank (138 gal, 275 gal, 330 gal), Roth DWT-400L (110 gal) |
| 45 - 47 | 1.15 - 1.20 | 3 | Schütz No. 825026 (165 gal) |
| 47 - 49 | 1.20 - 1.25 | 3, 7, 8 | Highland Vertical Cylinder Tank (128 gal), Highland UL-142 48" Diameter (500 - 1,000 gal), Grandby/Dehoust No. 961225 (160 gal) |
| 49 - 51 | 1.25 - 1.30 | 3, 6, 8 | |
| 51 - 53 | 1.30 - 1.35 | 3, 5 | |
| 53 - 55 | 1.35 - 1.40 | 3, 5, 7 | |
| 55 - 57 | 1.40 - 1.45 | 3, 5, 6, 8 | |
| 57 - 59 | 1.45 - 1.50 | 3, 5, 6, 7, 8 | |
| 59 - 61 | 1.50 - 1.55 | 3, 4, 7 | Highland Vertical Cylinder Tank (160 gal), Roth DWT-620L (165 gal), Roth DWT-1000L (275 gal) |
| 61 - 63 | 1.55 - 1.60 | 3, 4, 6 | |
| 63 - 65 | 1.60 - 1.65 | 3, 4, 6, 7, 8 | Schütz No. 825034 (265 gal), Grandby/Dehoust No. 961226 (275 gal), Highland UL-142 64" Diameter (1,000 - 4,000 gal) |
| 65 - 67 | 1.65 - 1.70 | 3, 4, 5, 8 | Roth DWT-1500L (400 gal) |
| 67 - 69 | 1.70 - 1.75 | 3, 4, 5, 6 | |
| 69 - 71 | 1.75 - 1.80 | 3, 4, 5, 6, 7 | |
| 71 - 73 | 1.80 - 1.85 | 2, 8 | Highland Vertical Cylinder Tank (192 gal), Highland UL-142 6' Diameter (4,000 - 6,000 gal) |
| 73 - 75 | 1.85 - 1.90 | 2, 7, 8 | |
| 75 - 77 | 1.90 - 1.95 | 2, 6, 7 | |
| 77 - 79 | 1.95 - 2.00 | 2, 5 | |
| 79 - 81 | 2.00 - 2.05 | 2, 5, 7, 8 | |
| 81 - 83 | 2.05 - 2.10 | 2, 5, 6, 8 | |
| 83 - 85 | 2.10 - 2.15 | 2, 4 | |
| 85 - 87 | 2.15 - 2.20 | 2, 4, 7 | |
| 87 - 89 | 2.20 - 2.25 | 2, 4, 6, 8 | |
| 89 - 91 | 2.25 - 2.30 | 2, 4, 6, 7, 8 | |
| 91 - 93 | 2.30 - 2.35 | 2, 4, 5, 7 | |
| 93 - 94 | 2.35 - 2.40 | 2, 4, 5, 6 | |
| 94 - 96 | 2.40 - 2.45 | 2, 4, 5, 6, 7, 8 | Highland UL-142 8' Diameter (4,000 - 15,000 gal) |
| 96 - 98 | 2.45 - 2.50 | 2, 3, 8 | |
| 98 - 100 | 2.50 - 2.55 | 2, 3, 6 | |
| 100 - 102 | 2.55 - 2.60 | 2, 3, 6, 7 | |
| 102 - 104 | 2.60 - 2.65 | 2, 3, 5, 8 | |
| 104 - 106 | 2.65 - 2.70 | 2, 3, 5, 7, 8 | |
| 106 - 108 | 2.70 - 2.75 | 2, 3, 5, 6, 7 | |
| 108 - 110 | 2.75 - 2.80 | 2, 3, 4 | |
| 110 - 112 | 2.80 - 2.85 | 2, 3, 4, 7, 8 | |
| 112 - 114 | 2.85 - 2.90 | 2, 3, 4, 6, 8 | |
| 114 - 116 | 2.90 - 3.00 | 2, 3, 4, 5 | |
| 116 - 118 | 3.00 - 3.10 | 2, 3, 4, 5, 6, 8 | Highland UL-142 10' Diameter (8,000 - 20,000 gal) |
I put the Rocket on the tank and plugged in the receiver but it doesn’t work.
Customer does not wait long enough for the signal to be sent.
After plugging the receiver into a wall outlet and waiting for the 2 minute learn time to expire, you may need to wait another 8 minutes before the Rocket transmits to send a measurement to the Receiver. If the Receiver does not show a level (some number of bars) shortly after the 10 min period, the go through a re-synchronization process.
The number of bars on the receiver is not correct when compared with a mechanical gauge on the tank.
Receiver DIP switch settings are inconsistent with actual tank height.
After plugging the receiver into a wall outlet and waiting for the 2 minute learn time to expire, you may need to wait another 8 minutes before the Rocket transmits to send a measurement to the Receiver. If the Receiver does not show a level (some number of bars) shortly after the 10 min period, the go through a re-synchronization process.
I cannot synchronize the Rocket to the receiver.
(A) Receiver is not in Learn Mode – Unplug receiver and plug back in and verify that the top bar is blinking. Now proceed with the Sync Process.
(B) Rocket is in Fast Mode – Bring the Rocket to your ear and listen for rapid “clicking”. If you hear that clicking, pass a magnet across the black dot on the rocket to turn the rocket Fast Mode off. Listen again to verify that the clicking has stopped.
(C) Rocket Battery is dead – Rocket has an approximate 10-year battery life, so this is usually not the problem. Install new battery per instructions on Page 2. Make sure that the Warranty label (torn when rocket is taken apart) is matched up after assembly. The top and bottom plastic housings are “keyed” and must be reassembled properly.
D) Rocket was disassembled and improperly reassembled – Is the battery installed upside down? Were the two housing sections assembled incorrectly (180° off) – which locates the black dot on the other side of the circuit board from where the activation (Reed) switch is located?
I ran out of fuel and the Receiver still said I had oil.
Incorrect DIP Switch Settings on the Receiver
Display contains flashing triangle — no bars displayed

Indicates that the receiver has not received a signal for two hours. Possible causes are:
Display contains flashing triangle — middle bar displayed

Indicates that the Transmitter is not receiving an echo from its ultrasonic signal inside the tank. Likely cause:

CORRECT!

Do not insert a tube or any other sharp or rough edge inside or on top of tank

Do not insert a tube or any other sharp or rough edge inside or on top of tank

Obstacles can block ultrasonic signal

Mount sensor as vertical as possible
Informative and technical training resources from the leading experts in the heating industry
Have questions about our products? Looking for a solution to address a particular application? Looking to improve the overall productivity and profitability of your operation? Please don’t hesitate to reach out or schedule a no obligation, 1-on-1 consultation with a Beckett Technical Specialist — we’d love to help.
Beckett solutions are available through our network of Distributors, Independent Representatives, and Export Representatives all around the world.